

Color - Adobe sRGB colors for both landscape and for portraits
Image Size - Raw for landscape with 14 bit and Fine with 12 bit for everything else
Vignette Control - Normal
White Balance - Auto A3 for Landscape, Auto B1 or B2 for Indoor People (Non-Studio)
Most professional landscape photographers will set their white balance to "shade" to give it a warmer image, and you should too. In the end, what you like about your images is all that matters. Just make sure you get all that you can out of your camera, before you decide. The following is the process you should consider every time you take a picture.
 |
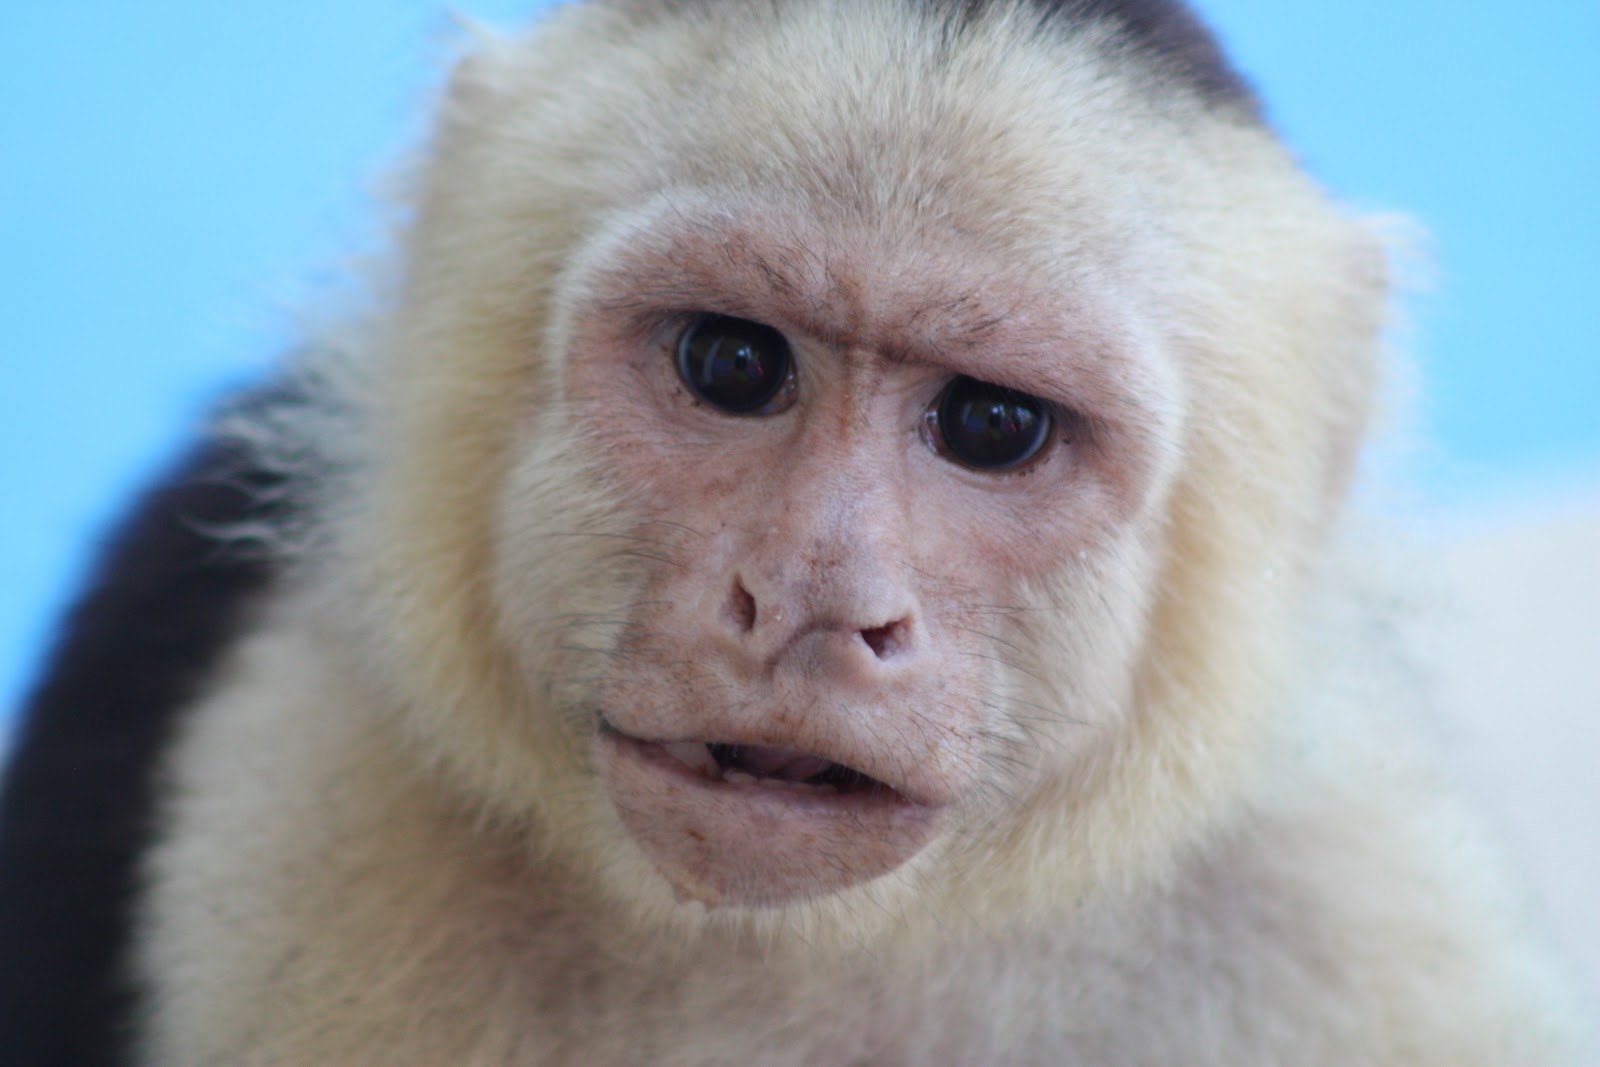
| Eric caught this little friend having an afternoon snack in Costa Rica |
 |
| Eric caught a couple of Dolphins racing our boat, on our deep sea fishing trip in Costa Rica |
If images are still too dark or too light - change exposure compensation w/o changing anything else
If colors are not accurate - adjust white balance either warmer or cooler as needed
Tungsten - makes image blue more than sunlight position
Cloudy - warms up picture more than sunlight position (Auto A3)
Shade - very warm - professional preferred choice for most situations (Auto A6)
If the contrast or saturation doesn't look right - then adjust picture controls
Here are the picture controls I use with this camera for a first start every time I go out to shoot any image:
 |
| Eric also captured this little friend out by the pool by our house in Costa Rica, looking for a handout |
Contrast: Standard
Saturation: -1
Sharpening: 5
Hue: -1
ADR: Off
People Settings
Contrast: Standard
Saturation: +1
Sharpening: 5
ADR: Auto
Landscape & Everything Else
Contrast: Vivid
Saturation: +3
Sharpening: 5
ADR: Auto
 |
| Default Settings |
 |
| Enhanced Settings |
Most newer digital cameras allow you to set and save these settings for easy changing from one style to another by the simple click of a button. Even the small pocket cameras can do some of this too, but their settings are pretty hidden within their menu selections.
 |
| Lori caught this little sloth sneaking around our house at Costa Rica who stopped to pose for the kids |
I have an upcoming wedding and here are the basic settings I will use with my flash unit for both inside and outside.
Wedding Camera Settings
 |
| Marti and me in Costa Rica on a Sunset cruise with the same Outdoor settings w/fill flash settings described herein, that Garrett composed just perfectly. |
Matrix Metering
ISO 200
Mid Range telephoto or 135mm fixed
SB 800 TTL BL, flash compensation -1
White Balance - flash B1 or B2
Indoors w/flash
Matrix Metering
ISO 400 or 800, as needed
SB 800 TTL, flash compensation 0
White Balance - flash, B1 or B2
Try these out and see if these small changes don't make a huge difference in your images.
Good luck chasing the light, and always keep an eye out for that Perfect Tyme for that killer image!
No comments:
Post a Comment
Note: Only a member of this blog may post a comment.